AI 3D assets for Roblox
Atlas turns a short accessory prompt into a Roblox UGC-ready mesh — classified into the right category, fitted to the mannequin, and scaled to exact stud dimensions automatically.
Four stages, prompt to fitted UGC accessory
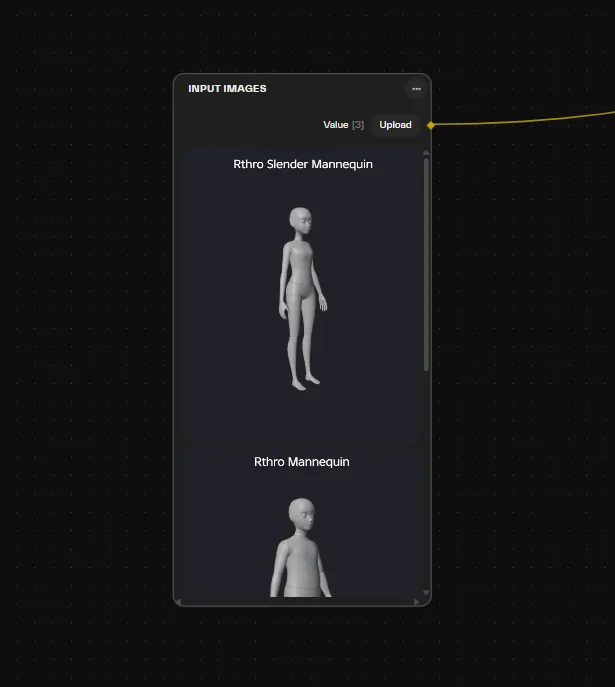
Classification & fitting spec
An LLM classifies the accessory into its Roblox category (Hat, Face, Back, Waist) and attachment point, expands the prompt into a 3D-ready concept, and looks up the exact bounding-box dimensions in studs for that category and mannequin.
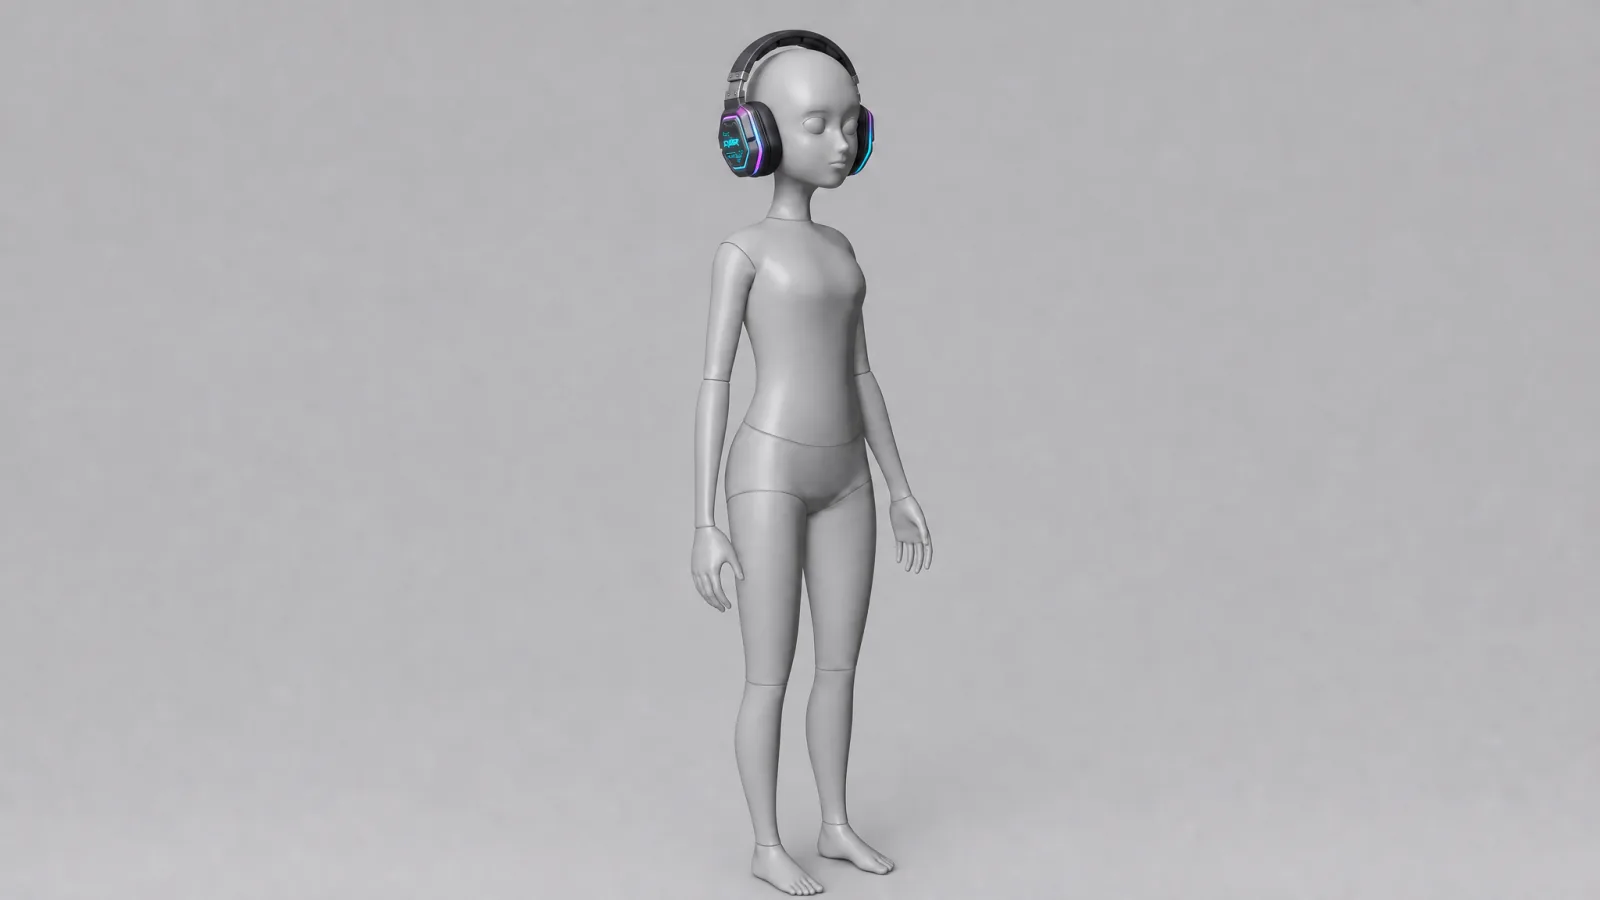
Concept & fitting
A text-to-image node renders the standalone concept, then a multimodal pass fits it onto the mannequin at the correct attachment point, curving it to the avatar’s anatomy.
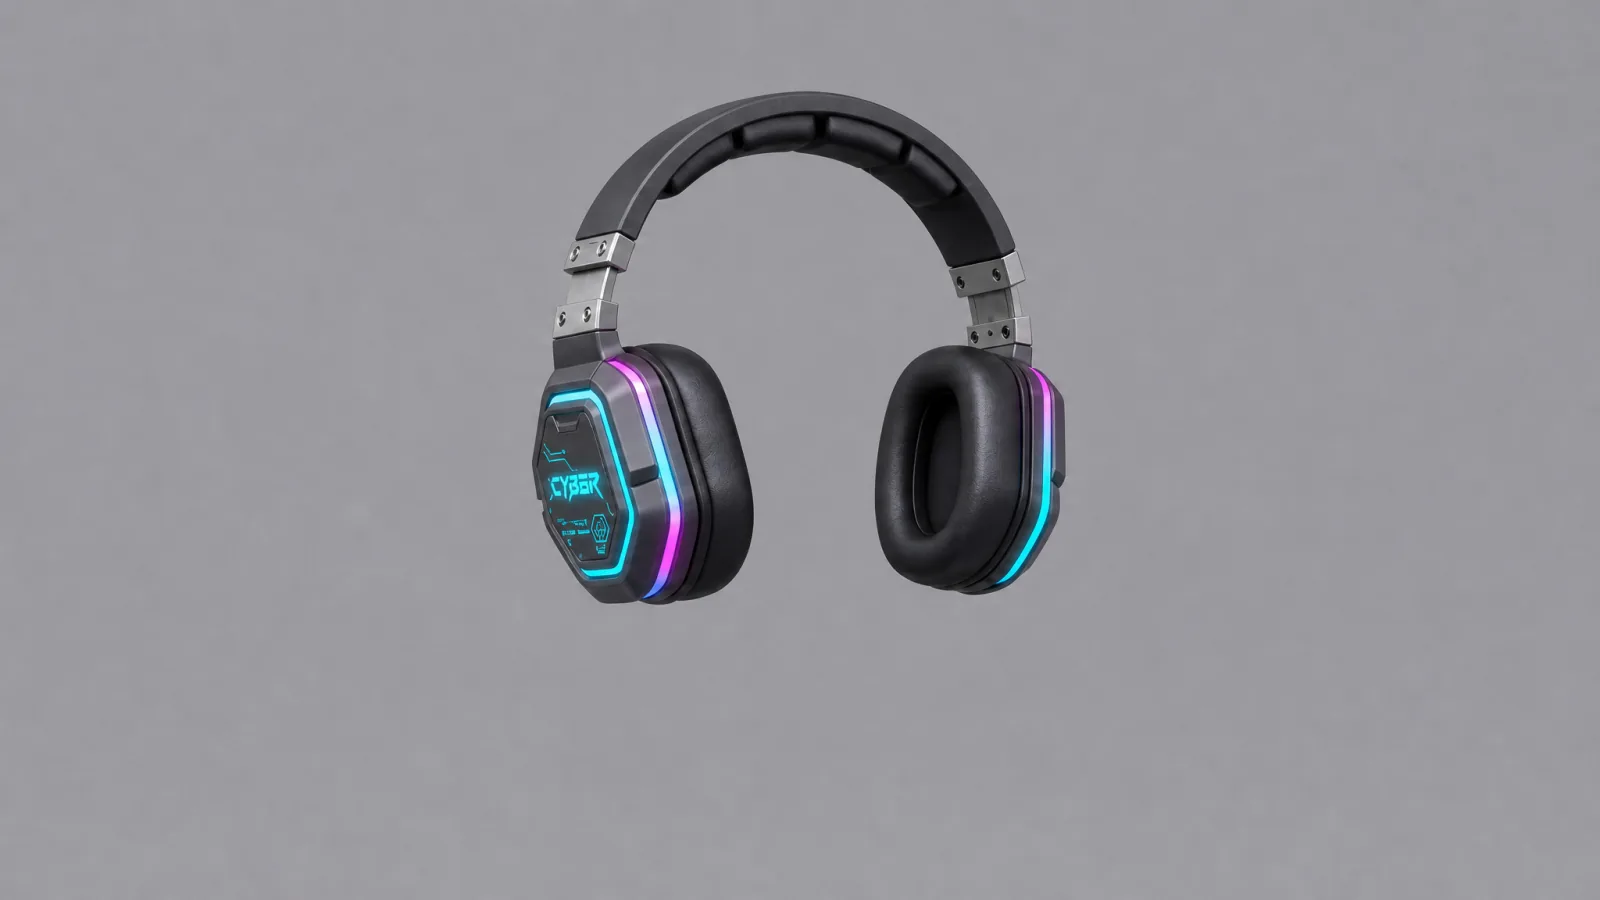
Isolation & detail transfer
The mannequin body is removed while the fitted curvature is kept, and high-fidelity textures, glow effects and materials are restored from the original concept.
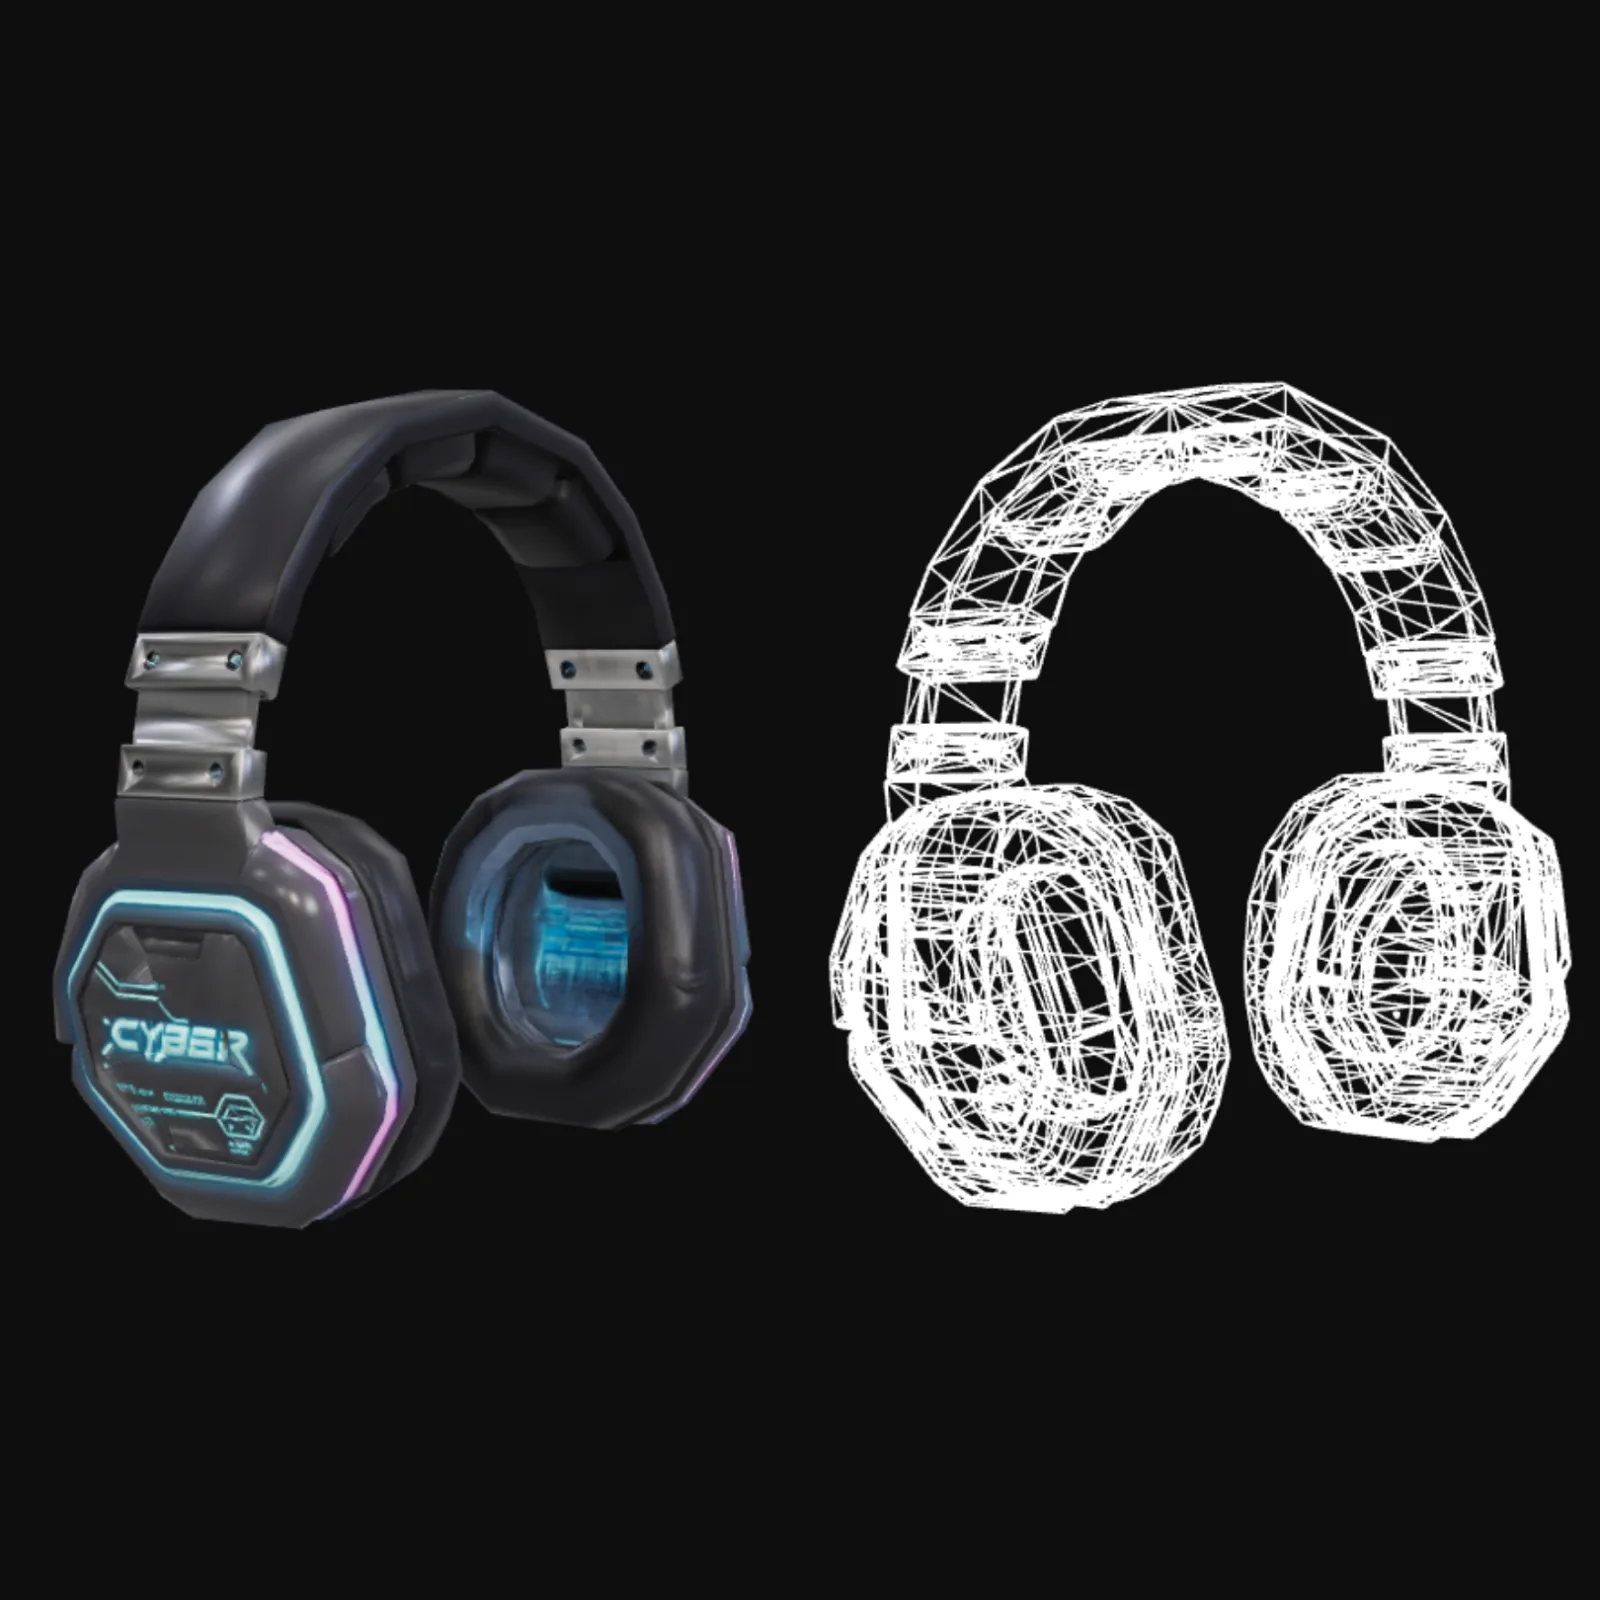
3D reconstruction & standardization
A low-poly Image-to-3D pass builds the textured mesh, then centers the origin, frontalizes orientation, and fits the final asset to the exact stud dimensions for its category and mannequin.
What does Roblox require from an accessory mesh?
Roblox publishes hard limits, and the last stage of this workflow exists to hit them. As of September 2026 the creator documentation holds rigid accessories to a single mesh of at most 4,000 triangles, textures no larger than 2048×2048 for Marketplace items, and a bounding box per accessory type and body scale, measured in studs. General MeshParts may carry up to 20,000 triangles, but an accessory meant to be worn gets validated against the accessory rules, not the general ones.
Materials go through SurfaceAppearance, which reads Color, Normal, Roughness and Metalness maps plus an emissive mask. The glow on the demo headphones is that emissive channel; Marketplace validation wants EmissiveStrength between 0 and 40.
| Type | Normal scale | Slender scale | Classic scale |
|---|---|---|---|
| Hat | 1.87 × 2.5 × 1.87 | 1.78 × 2.5 × 1.78 | 3 × 4 × 3 |
| Face | 1.87 × 1.25 × 1.25 | 1.78 × 1.25 × 1.18 | 3 × 2 × 2 |
| Back | 9.86 × 8.59 × 4.87 | 8.64 × 7.91 × 4.32 | 10 × 7 × 4.5 |
| Waist | 3.94 × 4.29 × 7.57 | 3.76 × 3.29 × 6.73 | 4 × 3.5 × 7 |
Rigid accessory bounding boxes in studs, Roblox creator docs, September 2026
How does the mesh get from Atlas into Roblox Studio?
Roblox Studio’s 3D Importer accepts .fbx, .obj and .gltf files. Atlas exports GLB, the binary packaging of the same format. If your Studio version will not take the .glb extension in the file picker, a round trip through Blender — import GLB, export FBX — takes a minute and keeps UVs and PBR maps intact.
On import, check three things against the spec the first stage produced: triangle count against the 4,000 limit, bounding box against the category size, and the attachment point, which is HatAttachment for hats and BodyBackAttachment for back accessories.
The stud fitting in the last stage is what makes the import uneventful: origin centered, orientation frontalized, size inside the box for the category and mannequin you picked. If the importer flags a size, the mismatch is between the mannequin you picked and the scale you are publishing for. Re-run with the right mannequin; it is not a modeling problem.
Where the time goes
| Stage | Manual | Atlas |
|---|---|---|
| LLM classification & prompt expansion | 30–60 minutes | 2–5 seconds per node |
| 2D & multimodal image passes | 2–4 hours | 10–25 seconds per node |
| 3D reconstruction | 4–8 hours | 30–60 seconds |
| Total time, fresh run | ~8 hours | 1.5–3 minutes |
Common questions
What does the Roblox workflow output?
How long does a fresh run take?
Can I control the accessory’s art style?
Does the output work outside Roblox?
Does the mesh pass Roblox’s 4,000-triangle accessory limit?
Which body scales does the fitting cover?
What about layered clothing?
The stages in depth
Related workflows
Try this workflow in Atlas
Free to start. No credit card required.
Try it on Atlas